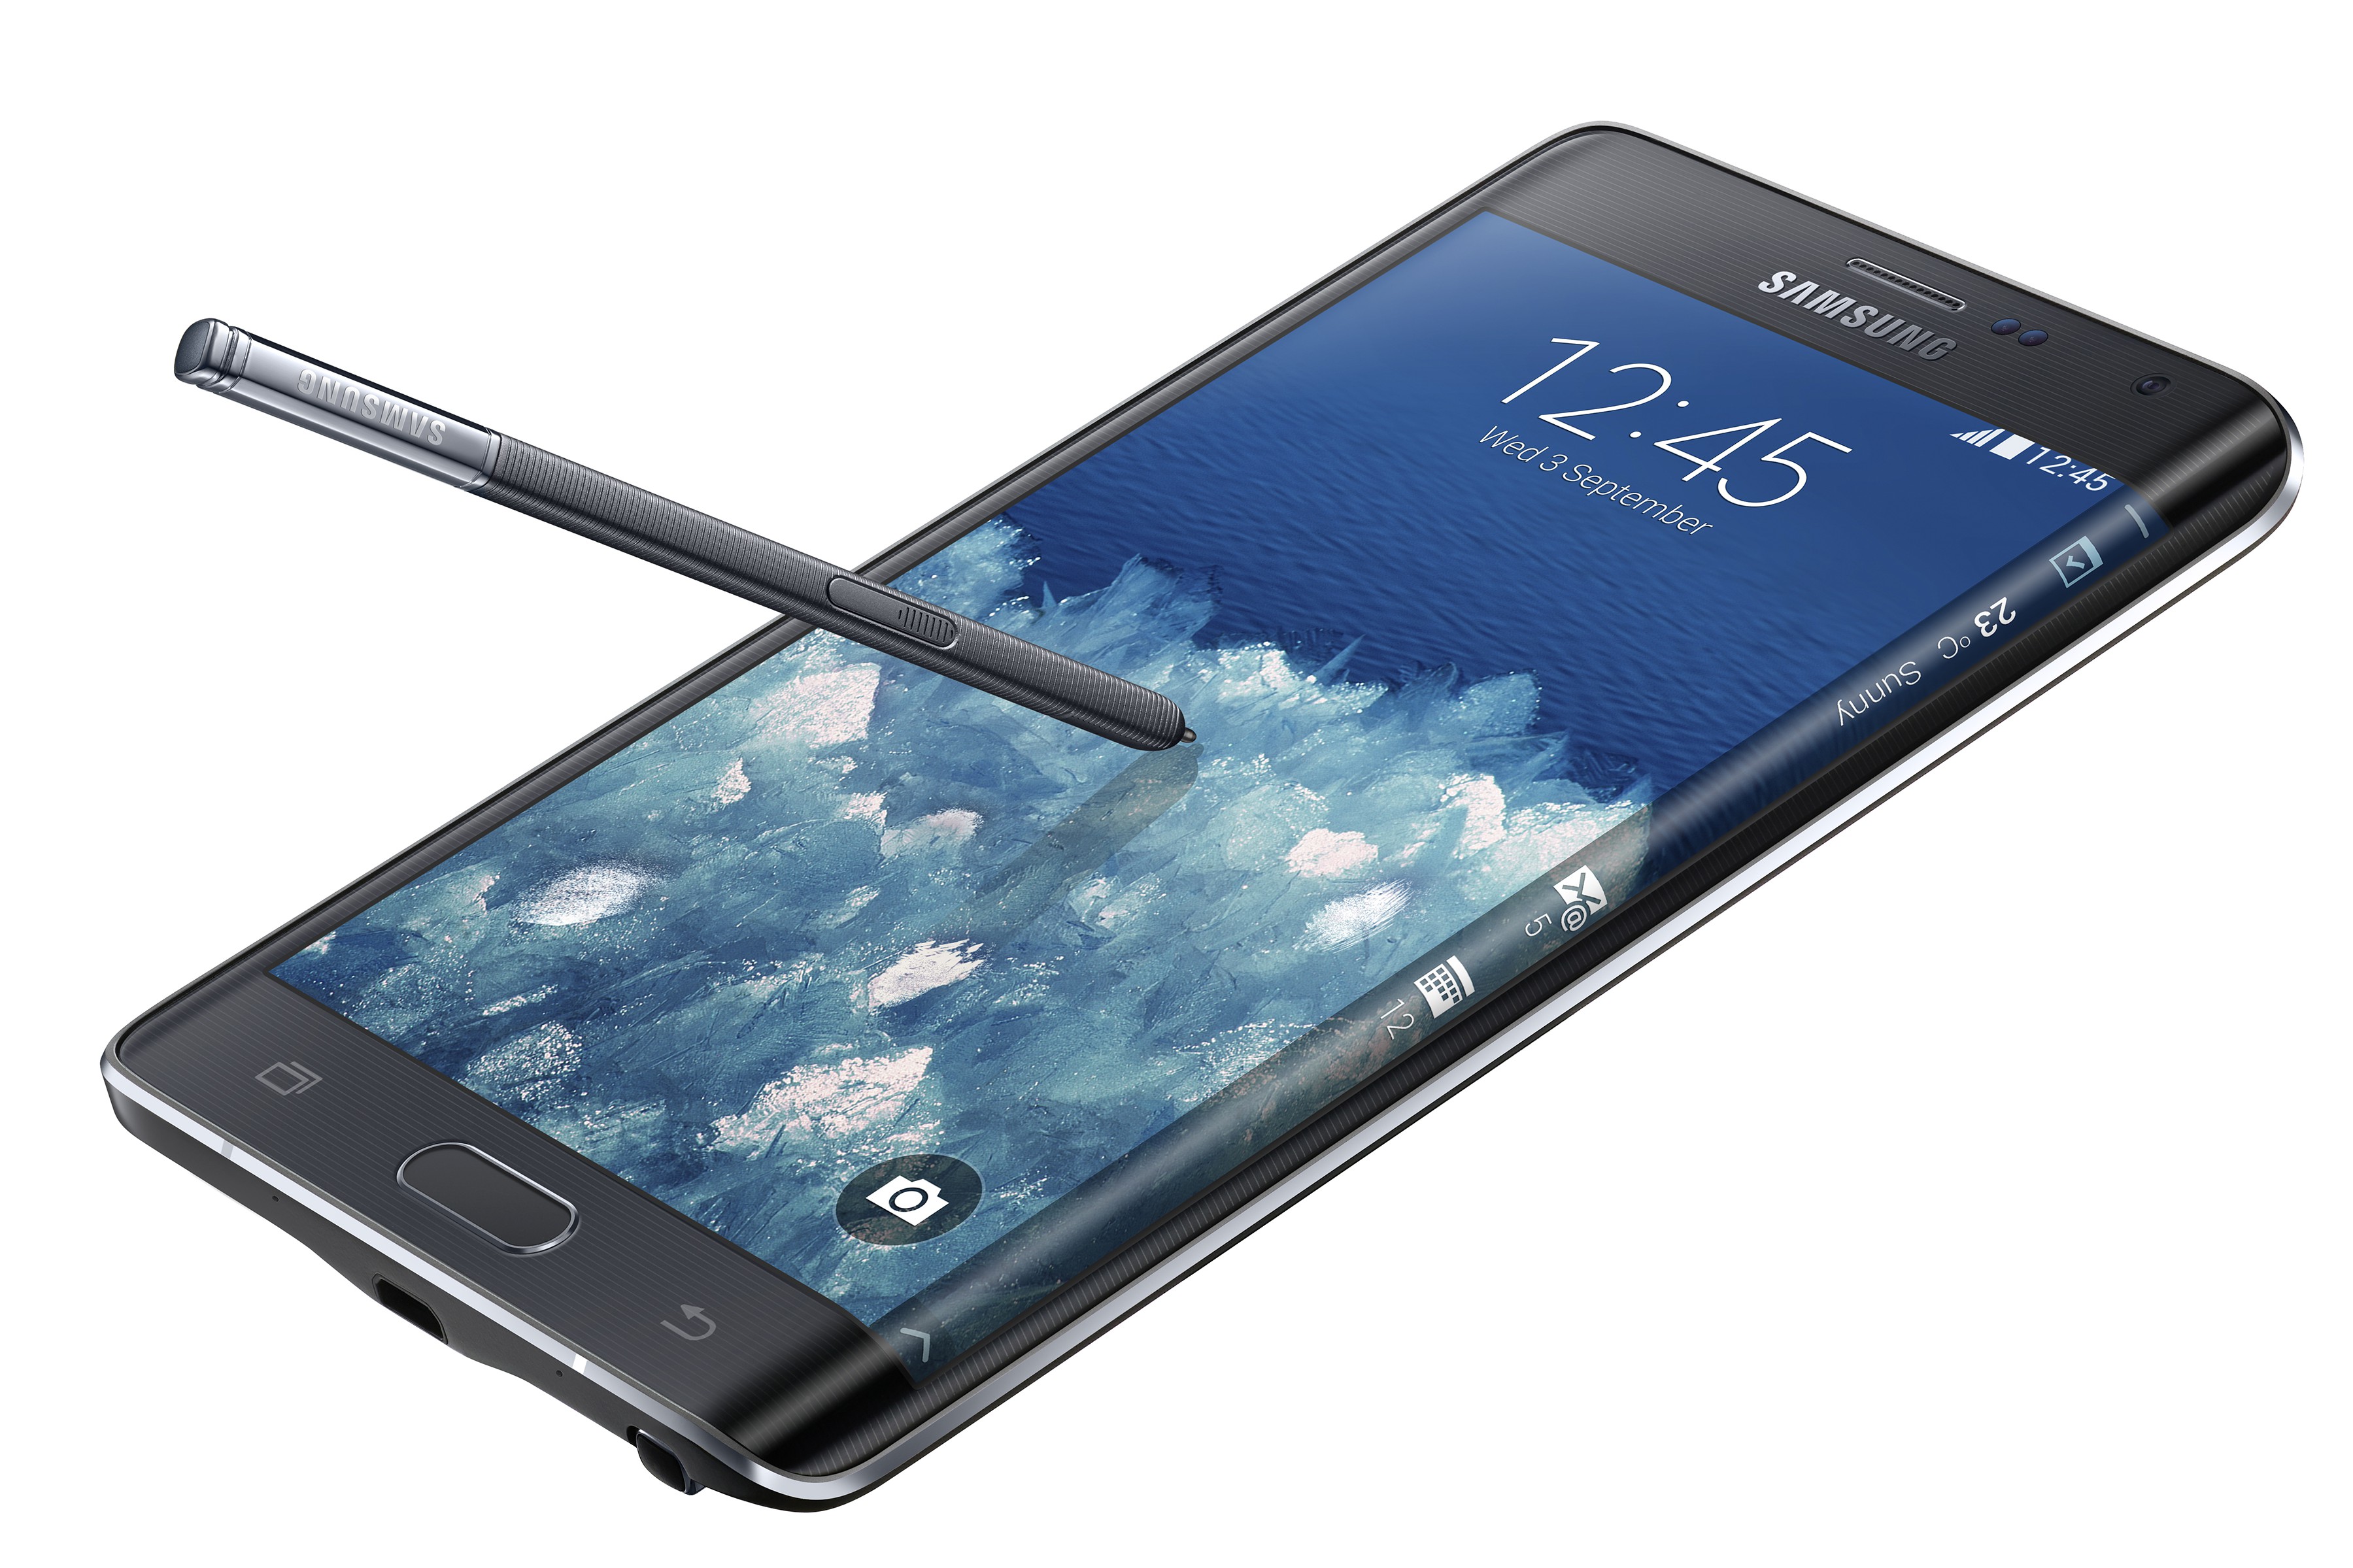
In this tutorial we will show you how to root your Samsung Galaxy Note 3 LTE VJUENB4 with Android 4.4.2 KitKat. This root method was created by Chainfire who has in the past provided the easiest and quickest ways to root Samsung devices. The root process uses the CF-Auto-Root Method with ODIN. This method is very secure but there is always a risk of damaging your Samsung Galaxy Note 3 LTE.
Backup Tutorials
Google automatically saves your contacts but doesn’t sync other files on your device. Check the following tutorials to completely backup your device.
- Backup Apps, Pictures and Ringtones from your Android Device
- Android SMS Backup & Restore Tutorial
- Backup Android Call Logs with Call Logs Backup & Restore
Samsung Galaxy Note 3 LTE Root Tutorial
Things we will need
[checklist]
- Download CF-Auto-Root Samsung Galaxy Note 3 LTE Android 4.4.2
- ODIN v3.09
- Samsung Galaxy Note 3 LTE VJUENB4 USB Driver
[/checklist]
Important Informations
- Always use a USB-Port from the backside of your PC
- Always use the original USB cable
- Always use a fully charged device
- Always Backup your Device first
Supported Operating Systems
- Windows XP
- Windows Vista
- Windows 7
- Windows 8
Samsung Galaxy Note 3 LTE Root
- Download all the files linked under „Things you will need“
- Install the USB Drivers for your Samsung Galaxy Note 3 LTE VJUENB4
- Turn off your device
- Power on your Note 3 with the button combo „Volume Down + Home + Power. As soon as you see the triangle with the little android press the power button again to enter the Download Mode
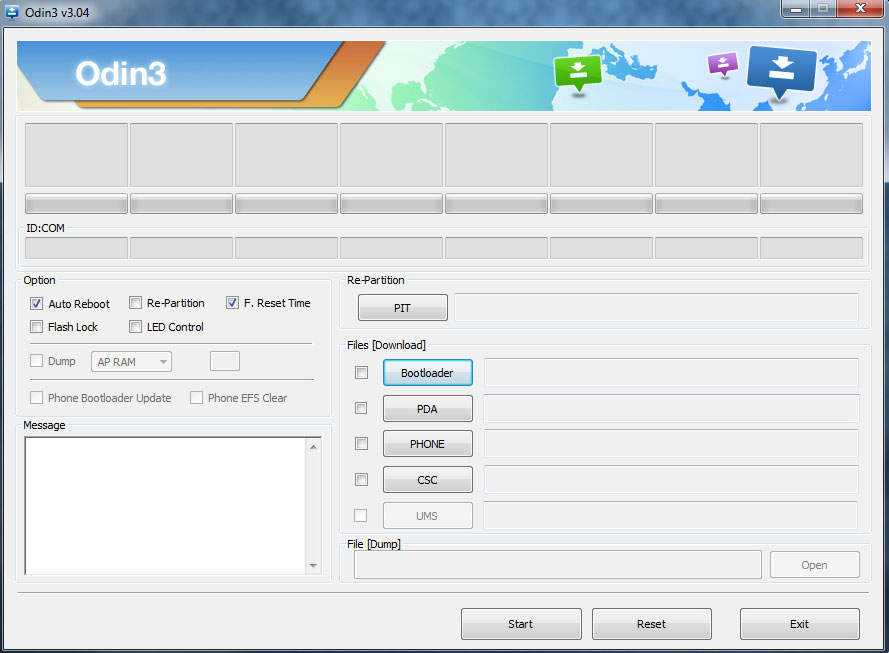
- Start ODIN and connect your Samsung Galaxy Note 3 LTE VJUENB4 to your pc
- One of the ID:COM Fields in ODIN should turn yellow, this shows you that your device was found by ODIN
- Click on the „PDA“ (APA) Button and select the File: CF-Auto-Root-hlte-hltexx-smn9005.zip
- Under „Option“ make sure that „Auto Reboot“ and „F.Reset Time“ are activated
- To begin rooting, press the start button
- Your device should reboot now (can take some time) and boot into the Recovery-Mode
- As soon as all the rooting is done, your device should reboot again and present you with the normal Samsung Android interface
- Check your Apps for SuperSU to confirm that the rooting was successfull
If your device doesn’t start automatically uncheck the Option „Auto Root“ in ODIN, pull the battery and then boot your device with the button combo Volume Up + Home + Power
to get into the Recovery-Mode. Rooting should work now.


