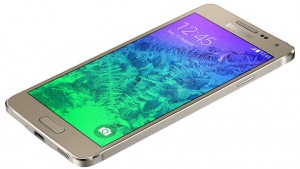
Samsung’s new Galaxy Alpha Smartphones comes with a nice looking aluminium frame but lacks in places like a slot for storage cards. The last months showed a steady decrease in price for the Samsung Galaxy Alpha which makes the phone an pretty interesting piece of technology on the phone market. In this tutorial we will show you how to root your Samsung Galaxy Alpha G850F.
Attention!
In this tutorial we use the CF-Auto-Root method which triggers the internal KNOX counter of the phone. This voids your waranty and can be detected by Samsung. CF-Auto-Root also doesnt install a custom recovery like the ClockworkMod. Apps like TitaniumBackup and others that need root access work flawlessly.
Samsung Galaxy Alpha Backup Tutorial
Google automatically saves your contacts but doesn’t sync other files on your device. Check the following tutorials to completely backup your device.
- Backup Apps, Pictures and Ringtones from your Android Device
- Android SMS Backup & Restore Tutorial
- Backup Android Call Logs with Call Logs Backup & Restore
Things we need
Before we startet the tutorial you will need to find out which of the following Packages was designed for your device. Get your Samsung Galaxy Alpha and go to „Settings“ -> „About the Phone“. At the Bottom of the Page you will find the „Build Number“ of your phone.
- Samsung USB-Drivers
- Odin 3.09
- CF-Auto-Root Datei for the Samsung Galaxy Alpha G850F
- You can get more Root-Images here
Samsung Galaxy Alpha Root Tutorial
- Download the CF-Auto-Root Package for your device
- Download Odin 3.09 to your pc
- Download and install the Samsung USB-Drivers
- Completly turn of your Samsung Galaxy Alpha
- Start your Samsung Galaxy Alpha while holding down „Volume Down“ and the „Home Button“ until you see the Download-Mode. Press „Power“ once to access into the Download-Mode
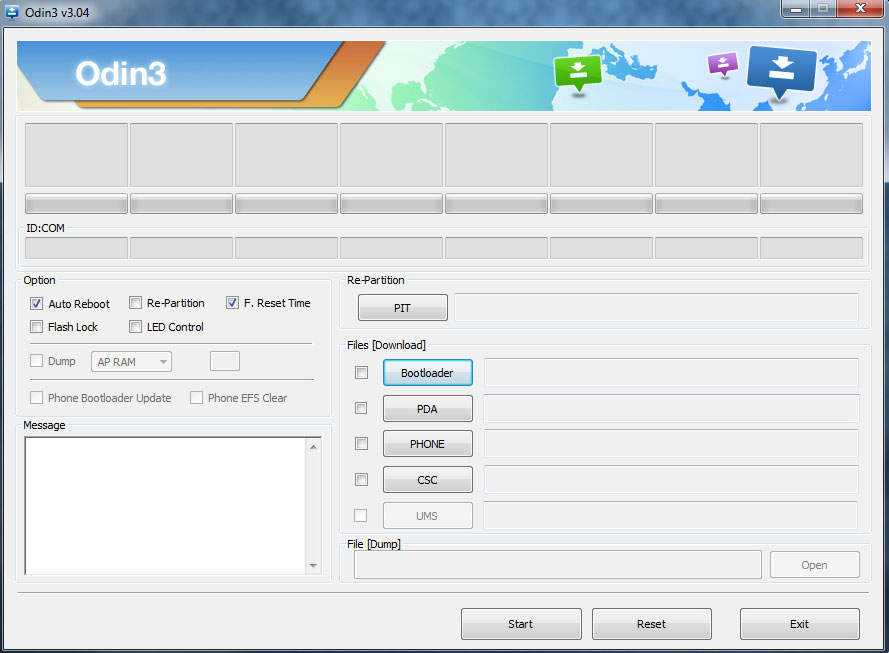
- Connect your Samsung Galaxy Alpha to your PC (use the standard USB-Cable that came with the phone) and launch Odin
- If Odin is able to detect your phone, one of the ID:COM boxes should turn yellow (this needs to happen in order for the rest of the steps to work)
- Klick on „PDA/AP“ and select the previously downloaded CF-Auto-Root Image. Keep in mind that the CF-Auto-Root Files are compressed as .zip files. Those need to be extracted, the file we select unter „PDA/AP“ should have „.tar.md5“ at the end of the filename.
- Select the Checkboxes for „Auto Reboot“ and „F.Reset Time“ in ODIN, don’t select any other checkbox
- If you are ready with all the settings click on Start to launch the root process for your Samsung Galaxy Alpha
- The root process should finish after a few minutes and your phone should reboot automatically into the recovery-mode (if your phone doesn’t reboot automatically you need to start over with this tutorial. In this situation we recommend to pull out the battery at step 4)
- As soon as your device reboots back into Android you can disconnect the phone from your pc
- Thats it, your Samsung Galaxy Alpha Root is done 🙂
After rooting your Samsung Galaxy Alpha
If you encounter Problems like reboots after the root do the following.
Launch SuperSU on your Smartphone. The App should now inform you that KNOW was detected and wants you to deactivate it. You will need to accept this and then wait until KNOX is deactivated (this can take up to 5 minutes). After this you should head over to your „system/app“ and „system/priv-app/“ folders and delete all apps that have „KNOX“ in the name. This should fix problems like unexpected reboots.