In this tutorial we will show you how to root the Sony Xperia Z with the firmware version 10.1.1.B.0.1.166, 10.1.1.A.1.307 or 10.3.A.0.423. You dont need a Bootloader Unlock for this to work. Please remember to only use this tutorial if your phone runs the 10.1.1.B.0.1.166, 10.1.1.A.1.307 or 10.3.A.0.423 Firmware (Kernel).
[highlight color=“eg. yellow, black“]Always remember to backup your device![/highlight]
Backup Tutorials
Google automatically saves your contacts but doesn’t sync other files on your device. Check the following tutorials to completely backup your device.
- Backup Apps, Pictures and Ringtones from your Android Device
- Android SMS Backup & Restore Tutorial
- Backup Android Call Logs with Call Logs Backup & Restore
Sony Xperia Z Root Tutorial
Things we will need:
[checklist]
- Sony Xperia Z with Firmware 10.1.1.B.0.1.166, 10.1.1.A.1.307 10.3.A.0.423
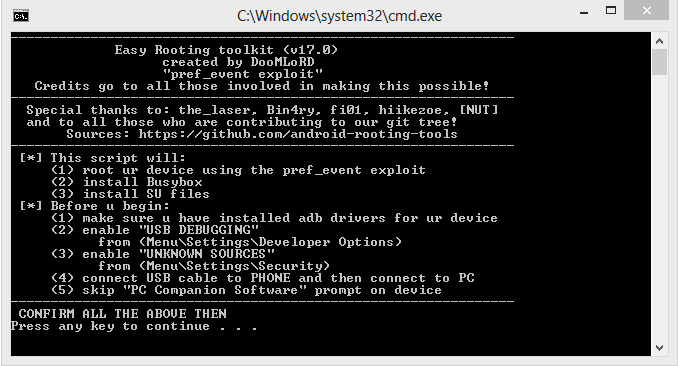
- DooMLoRD Easy Rooting Tookit v.17
- Sony Xperia Z USB Driver
[/checklist]
Important Informations
- Always use a USB-Port from the backside of your PC
- Always use the original USB cable
- Always use a fully charged device
- Always Backup your Device first
Supported Operating Systems
- Windows XP
- Windows Vista
- Windows 7
- Windows 8
- Mac
- Linux
Sony Xperia Z Root Tutorial How to
- Download all the files under „Things you will need“
- Activate „USB Debugging“ under Menu -> Settings -> Applications -> Developement
- Active „Unknown Sources“ under Menu -> Settings -> Applications
- Connect your Sony Xperia Z to your PC, on the device select charge only
- Extract the DoomLord Easy Rooting Toolkit v.17
- Start the RUNME-File for your Operating System (Windows uses .bat)
- A command window will appear with additional informations, to start rooting press any key
- After rooting is done your device will reboot and you will find the SuperUser-App on your Xperia Z
- Your done! Have fun!
Info for Mac-Users: To start the runme script open a terminal window and drag & drop the runme script into it.