In this Tutorial we will show you how to root your HTC One V. We will use the Kingo Toolkit which provides a quick and easy solution for windows users. For the Toolkit to work you will need to activate USB-Debugging on your device. To find out how to do this, take a look at our „Enable Developer Options in Android 4.2+ Tutorial„
Backup Tutorials
Google automatically saves your contacts but doesn’t sync other files on your device. Check the following tutorials to completely backup your device.
- Backup Apps, Pictures and Ringtones from your Android Device
- Android SMS Backup & Restore Tutorial
- Backup Android Call Logs with Call Logs Backup & Restore
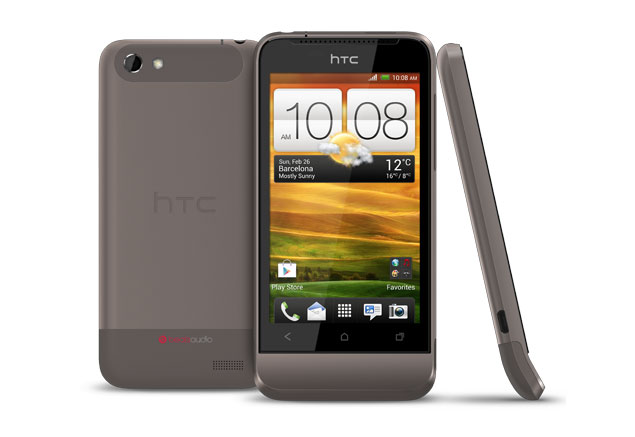
HTC One V Root
Things we will need
[checklist]
[/checklist]
Important Informations
- Always use a USB-Port from the backside of your PC
- Always use the original USB cable
- Always use a fully charged device
- Always Backup your Device first
Supported Operating Systems
- Windows XP
- Windows Vista
- Windows 7
- Windows 8
HTC One V Root Tutorial
- Download and Install the HTC USB Drivers for your HTC One V and the Kingo Root Toolkit
- Activate USB-Debugging on your HTC One V
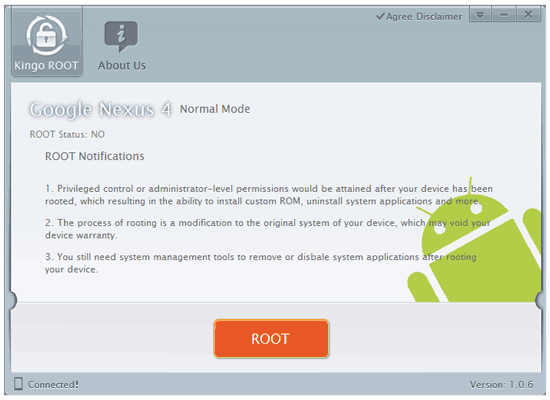
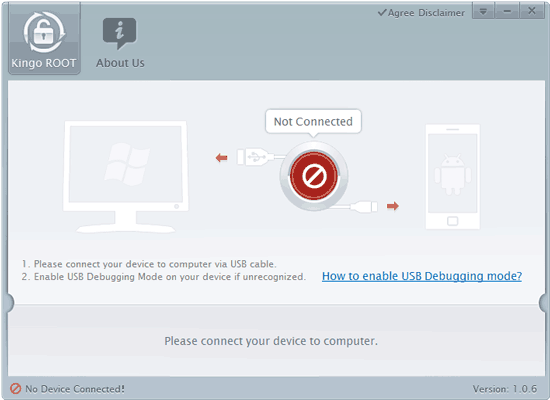
- Start the Kingo Root Toolkit and connect your HTC One V with your pc via the usb cable
- The Kingo Root Toolkit should now display the name of your device
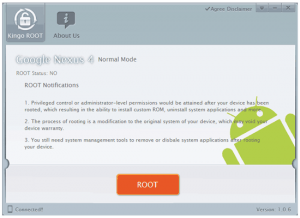
- To Root your device you simply need to click the orange „ROOT“ Button
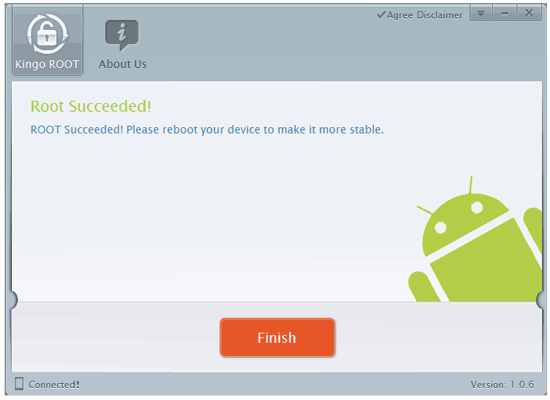
- After you pressed „ROOT“ your device will reboot
- As soon as rooting is done you will get the „Root Succeeded!“ Screen in the Kingo Toolkit

- Your HTC One V is now rooted if you want to remove the root you can also use this toolkit.