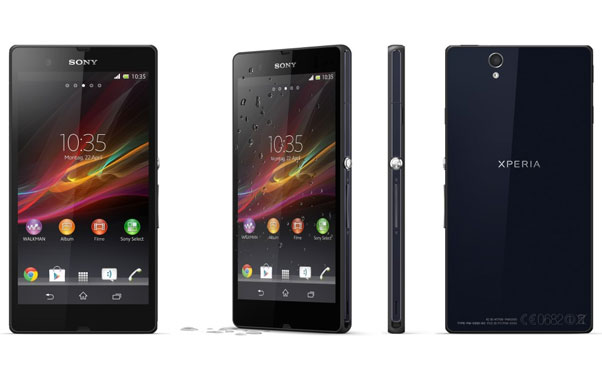
In this tutorial we will show you how to root your Sony Xperia Z. Before you can start with this tutorial you will need to unlock the bootloader of your device. To find out how to do this we recommend you to read our Sony Xperia Z Bootloader Unlock Tutorial.
[highlight color=“eg. yellow, black“]Always remember to backup your device![/highlight]
Backup Tutorials
Google automatically saves your contacts but doesn’t sync other files on your device. Check the following tutorials to completely backup your device.
- Backup Apps, Pictures and Ringtones from your Android Device
- Android SMS Backup & Restore Tutorial
- Backup Android Call Logs with Call Logs Backup & Restore
Sony Xperia Z Root Tutorial
Things we will need:
- Sony Xperia Z with Bootloader Unlock
- Sony Xperia Z with Firmware 10.1.A.350
- Auto-Root Kernel
- Stock Kernel
- Sony Xperia Z USB-Treiber
Important Informations
- Always use a USB-Port from the backside of your PC
- Always use the original USB cable
- Always use a fully charged device
- Always Backup your Device first
Supported Operating Systems
- Windows XP
- Windows Vista
- Windows 7
- Windows 8
- Mac
- Linux
Sony Xperia Z Root Tutorial How to
- Download all the required files
- Install the Sony Xperia Z USB Drivers
- Shut off your Sony Xperia Z and connect it with your pc
- Boot your device into Fastboot (Volume Up + Power Button). If windows doesnt find the drivers select the extracted folder with the downloaded Sony Xperia Z USB Drivers
- Copy all downloaded .img files into the „tools“ folder in your Android SDK install folder.
- Open a Windows-Command Window and navigate to the tools folder in the Android SDK install folder
- Type in the following commands (press enter after each one)
- fastboot flash boot Z_DooMLoRD_CF-Auto-Root-ported_FW-350.img
- fastboot reboot
- Your Device will reboot now (onscreen countdown)
- As soon as your device has rebootet you will need to hard power of your Sony Xperia Z. To do this you will need to unplug the device from your pc and hold down Volume Up + Power for 15 Seconds (device will vibrate 3 times)
- Boot your device into Fastboot again (Volume Up + Power Button) and connect it with the pc
- Now type in the following commands (press enter after each one)
- fastboot flash boot Z_DooMLoRD_insecure_FW-350.img
- fastboot reboot
- After the reboot you can download and install BusyBox through the Play Store.
