In this tutorial we will show you how you can root your Huawei C8813D. We will use the Kingo Root Tool which provides a quick and easy way to root the Huawei C8813D if you are a Windows User.
Backup Tutorials
Google automatically saves your contacts but doesn’t sync other files on your device. Check the following tutorials to completely backup your device.
- Backup Apps, Pictures and Ringtones from your Android Device
- Android SMS Backup & Restore Tutorial
- Backup Android Call Logs with Call Logs Backup & Restore
Huawei C8813D Root
Things we will need
[checklist]
[/checklist]
Important Informations
- Always use a USB-Port from the backside of your PC
- Always use the original USB cable
- Always use a fully charged device
- Always Backup your Device first
- Fully charge your Battery (100%)
- It’s recommended that you reboot your device before you start with this tutorial
Supported Operating Systems
- Windows XP
- Windows Vista
- Windows 7
- Windows 8
Huawei C8813D Root Tutorial
- Download and install the USB Drivers and the Kingo Huawei C8813D Root Toolkit
- On your Huawei C8813D you will need to make the following changes:
- Go to Settings -> Security and activate „Unknown Sources“
- Go to Settings -> Developer Options and activate USB-Debugging
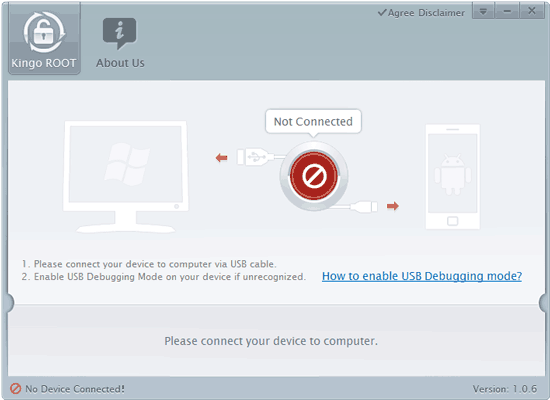
- Now connect your Huawei C8813D via USB to your PC
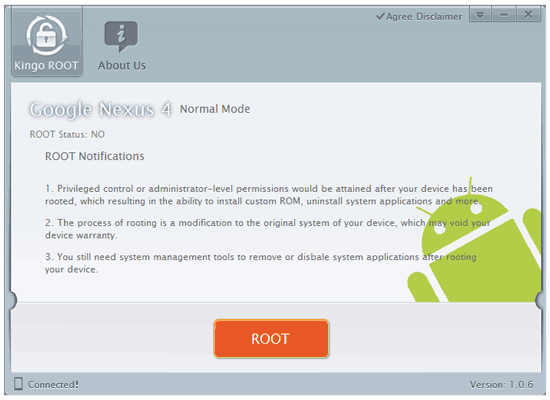
- Start the Kingo Android Root Toolkit
- Kingo should now display the name of your device
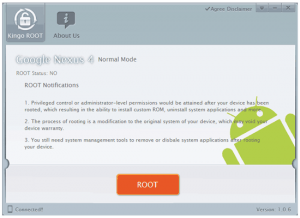
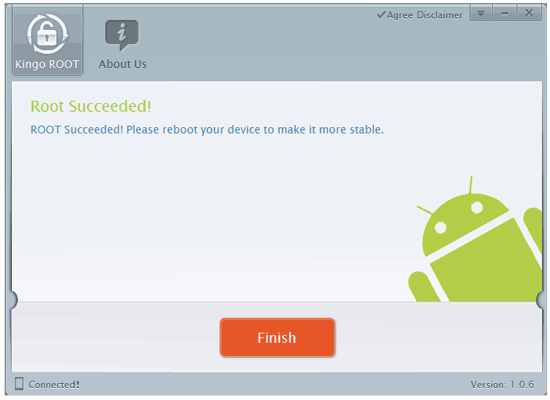
- To root your device you will simply need to press the orange „ROOT“-Button. After you startet the Root your device will reboot. After everything finished you will get a „Root Succeeded!“-Screen.

- Your Huawei C8813D is now rooted if you want to remove the root you can also use this toolkit.
Kingo also gives you the ability to remove the root from your Huawei C8813D. To do that click on the „Remove Root“ Button and you should be ready to go.