In this tutorial we will show you how to use fastboot and adb with the help of the Android SDK. For the Android SDK to work we will need the Java JDK7.
1) Download the Java SDK and install it on your pc
2) Download the Android SDK for Windows
3) Extract the Android SDK Files to C:\Android
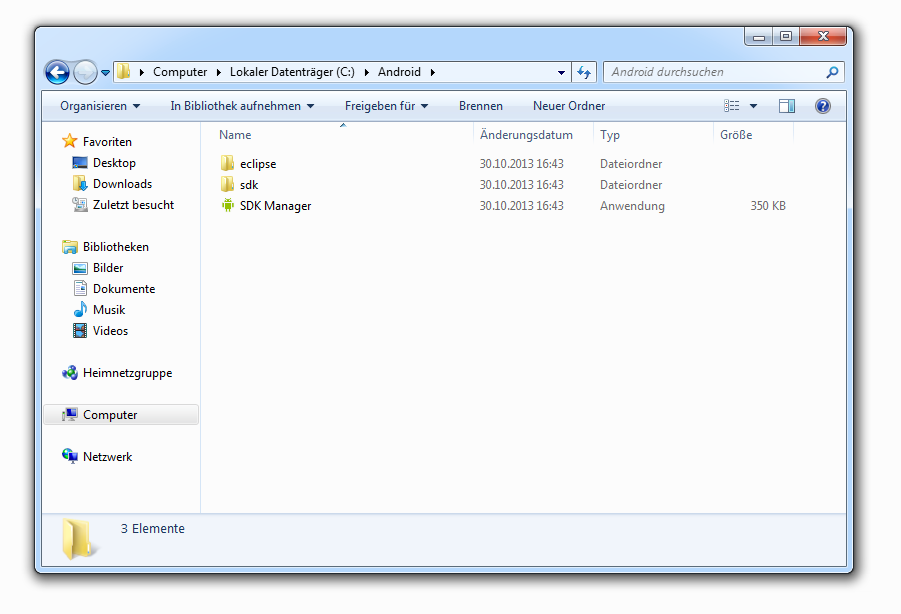
3) Now start the SDK Manager.exe. If the exe file doesnt start the SDK Manager use the batch file android.bat under \sdk\tools
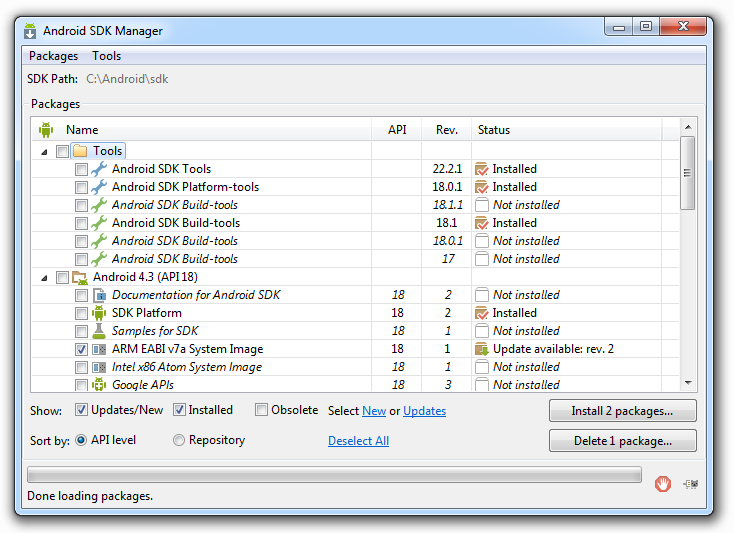
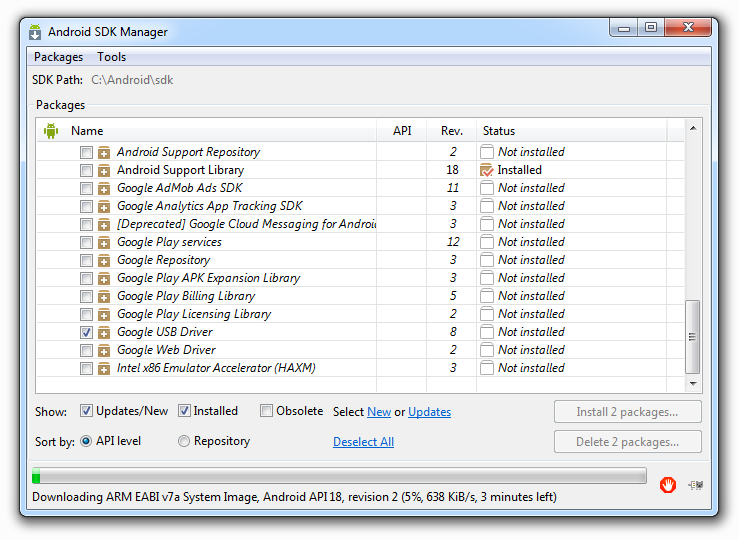
4) In the android SDK Manager select „Tools“ and activate the checkbox for „Android SDK Platform-tools“. At the bottom of the page you will find „Google USB Driver“ if its not activated, activate it now. To start the installation simply click on the „Install 2 packages…“-Button
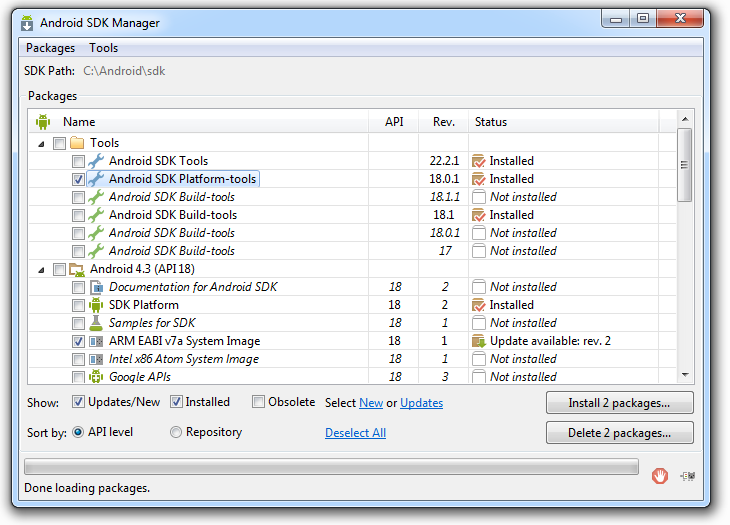
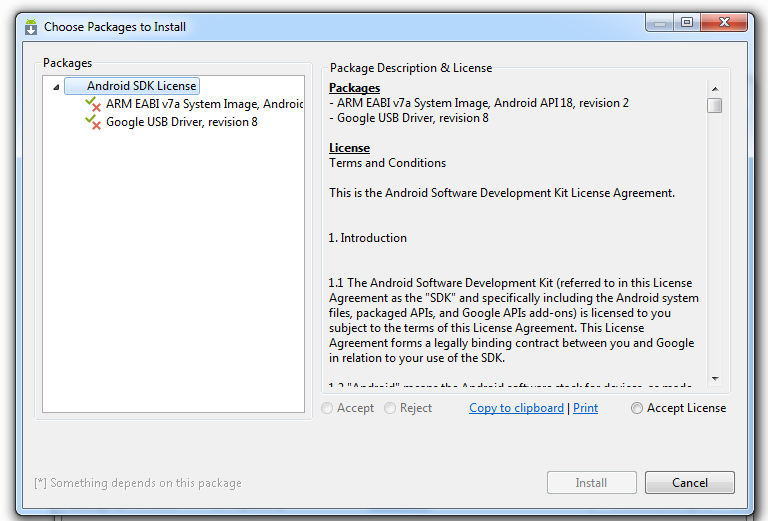
5) The SDK Manager will now present you a overview of the things he will download and install. You will need to accept the license from Google. Do this by simply clicking on „Accept License“. To start the installation click on the „Install“-Button
6) The Manager should start downloading your packages now, you can see the progress in the bottom of the window. As soon as you see „Done loading packages“ your done.
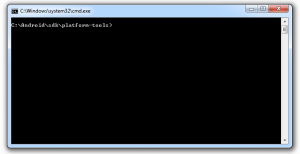
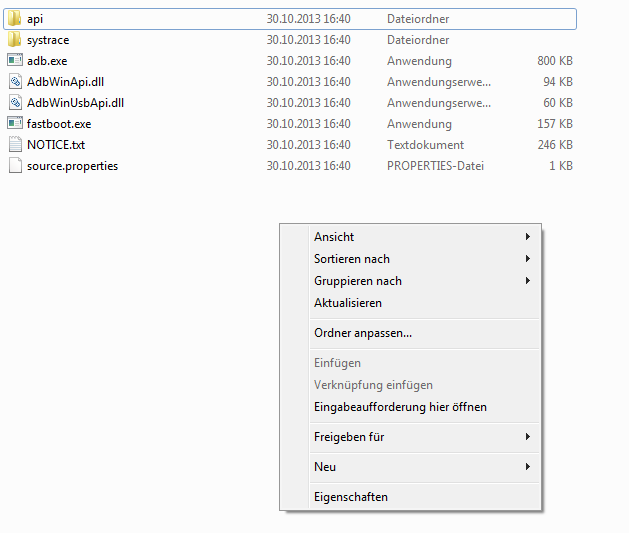
You will find the adb.exe and fastboot.exe in the folder „\sdk\platform-tools“. To use the two files we will need to start a command window. To do this simply hold shift and do a right click in the folder and select „open command prompt here“.
Windows will now load the command prompt. You can use adb and fastboot in this window. You will also need the usb drivers for your device which are generally linked in every tutorial.